

Hello Community,
Here, you’ve already explored the asset conversion funnel—the user's journey to data. Here, you’ve also seen what this journey looks like from the user’s point of view.
Now, let’s focus on how you, as an admin, can enhance that experience.
Three elements matter most in the conversion funnel:
- The call to action (CTA) the user sees first
- The information available about the asset
- The order in which this information appears (the layout)
These choices depend on the asset.
For some, you may want to push data export. For others, guide users to custom views.
Sometimes, highlight metadata first. In other cases, show attachments up front.
You can—and should—tailor this for each asset.
To get started, go to your asset management view and open the Conversion funnel tab.
1. Navigation in the conversion funnel
There are three steps in the conversion funnel.
- Discovery → via the Catalog page
- Evaluation → via the Asset overview page
- Data consumption → via the Explorer page
On the Catalog page, there is not much choice: users click on an asset to move forward in their journey.
On the Asset overview and Explorer pages, you can choose which action appears as the main CTA. Other actions will be accessible from the three-dot menu.
Available actions for datasets
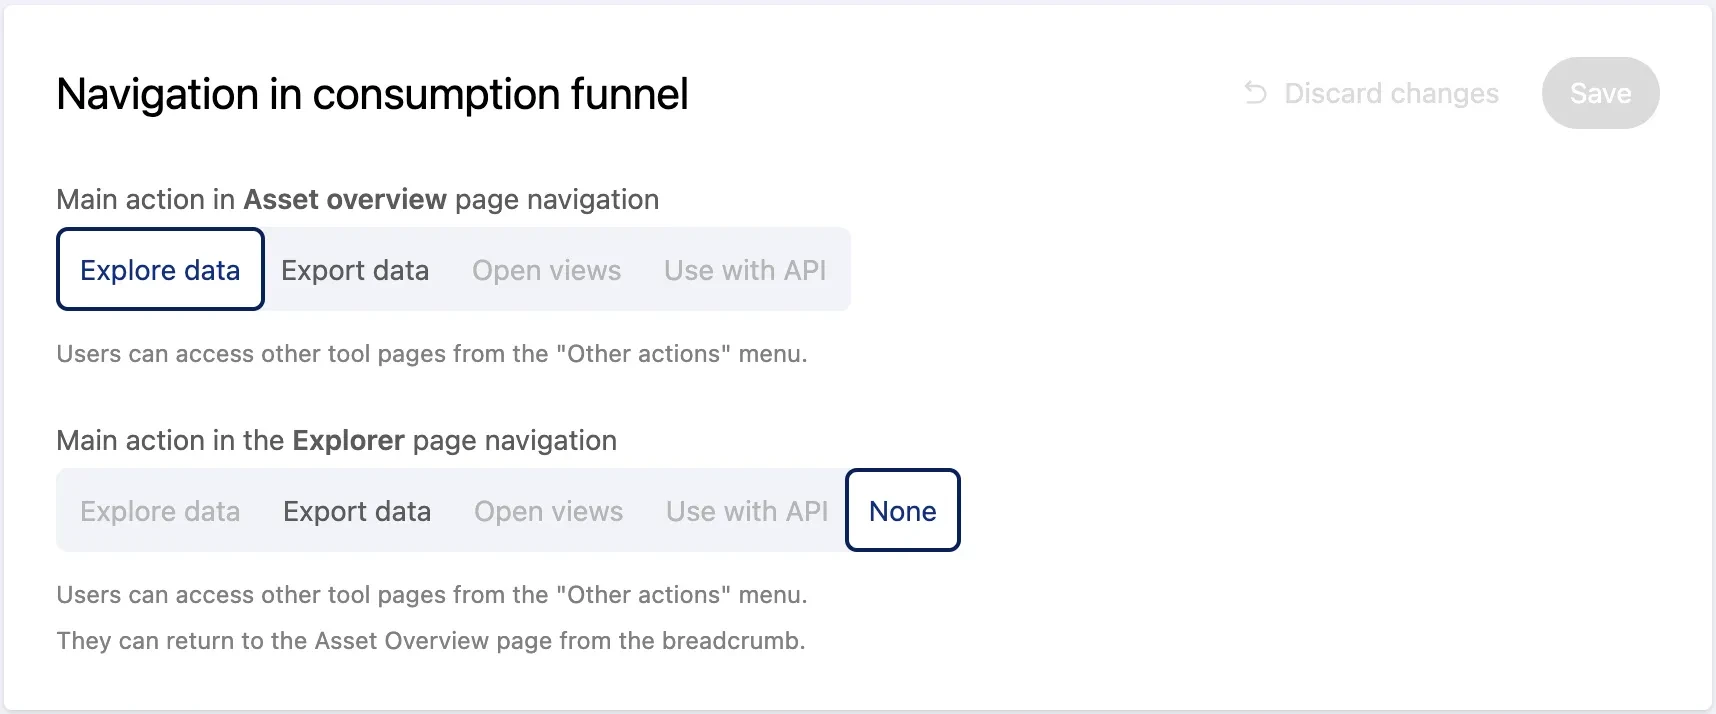
- Explore data lets users view the dataset in the table format.
- Export data allows downloading the dataset in available formats.
- Open views opens custom views of a dataset if set up:
- Grayed out if no custom views exist
- ⚠️ If this CTA is selected but all custom views are deleted, you will see an alert that you custom view page is empty. Don’t forget to update the CTA!
- Use with API opens our new API Console [link], where users can generate a request URL and use it in external apps.
Available actions for visualizations
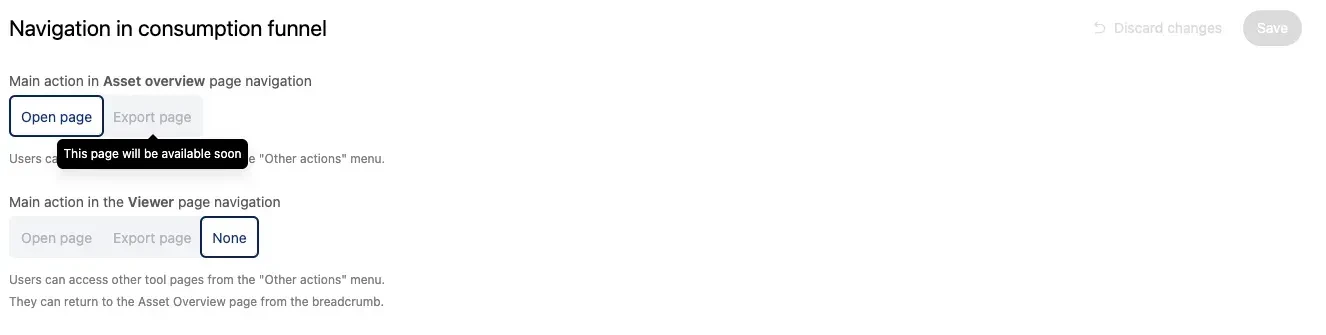
- Open page opens the Studio or Code editor page.
- Export page will enable visualization downloads in png or pdf formats. This feature will be available soon.
Available actions for external assets
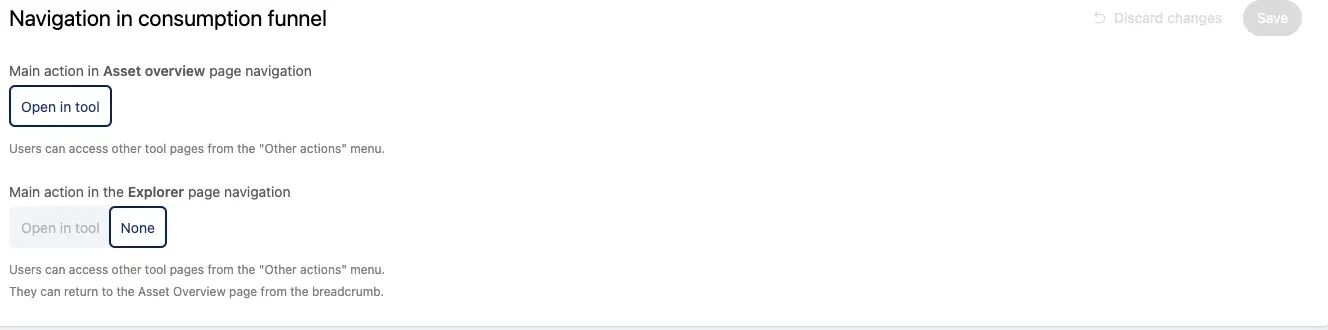
Open in tool will open the external asset in its original platform (such as Power BI, for example).
Note that assets from Snowflake can be viewed via Explore data button, just like the datasets.
2. Asset overview page
Here, you can choose which elements appear on the Asset page, and in what order. Use drag and drop to rearrange the layout. Click the eye icon to show or hide each element.
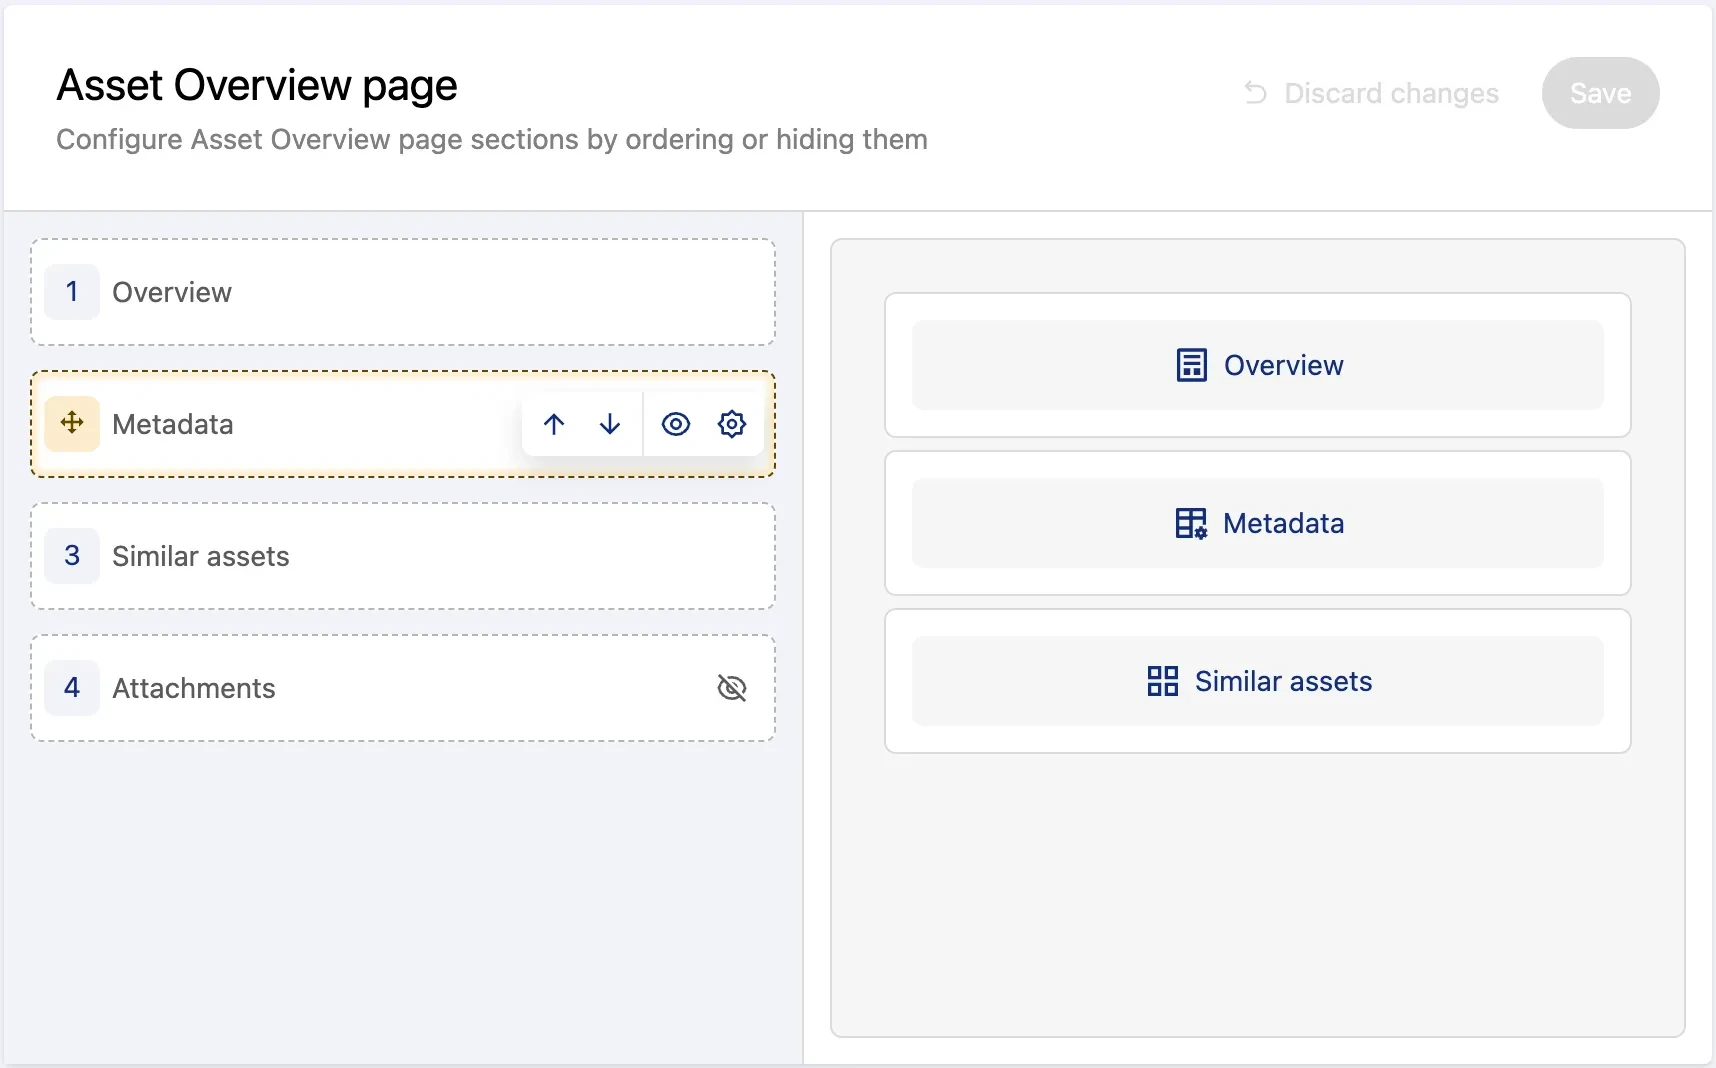
Note that attachements are hidden by default.
The previews are shown right under the overview.
The metadata block has a settings icon. Click it to open a config window where you can:
- Choose which metadata template(s) to display
- Select specific fields within the template
- Hide empty fields, if needed
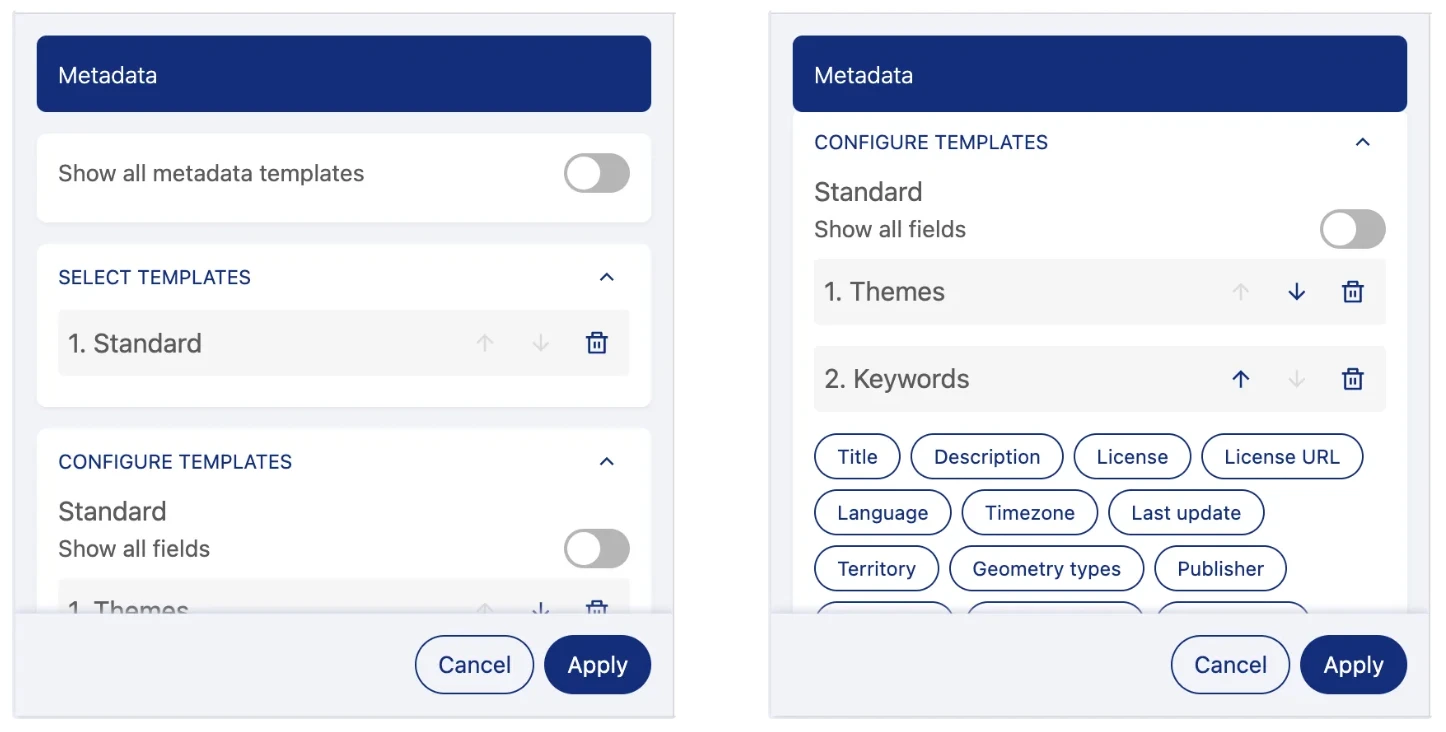
For now, these settings must be configured per asset, but we’re working on default settings per metadata template.
If we missed anything out, let us know in comments! ⬇️